Company Account Info
Reporting
To see how your ShareFile account is being used, you can create recurring and non-recurring reports that track usage, access, messaging, storage, and other details.
Note:
All recurring reports are run based on Eastern Standard Time.
Prerequisites
- An Administrative user on the ShareFile account.
- An Employee user with the Allow this user to access account-wide reporting permission.
- If running a report for a specific user, that user must be a member of the Shared Address Book.
Create report
Complete the following steps to create a ShareFile report:
-
Sign into ShareFile.
-
Navigate to Settings > Admin Settings > Company Account Info > Reporting.
-
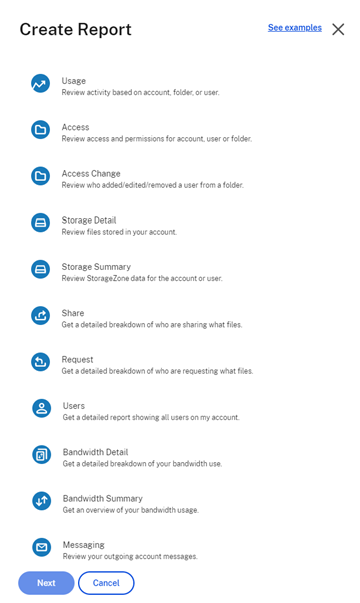
Select the Create Report button and choose the type of report you want to run, then click Next.
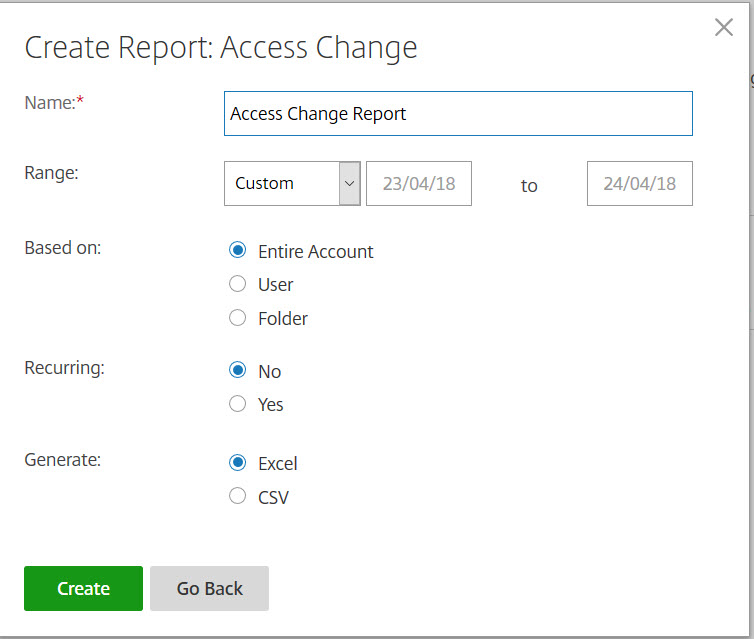
- Fill in the details as required and click Create. Reports can be generated as Excel or CSV files.
Recurring report:
To create a recurring report, follow the earlier steps through Step 3. Then, choose Recurring as Yes, fill in the other details as required and click Next.
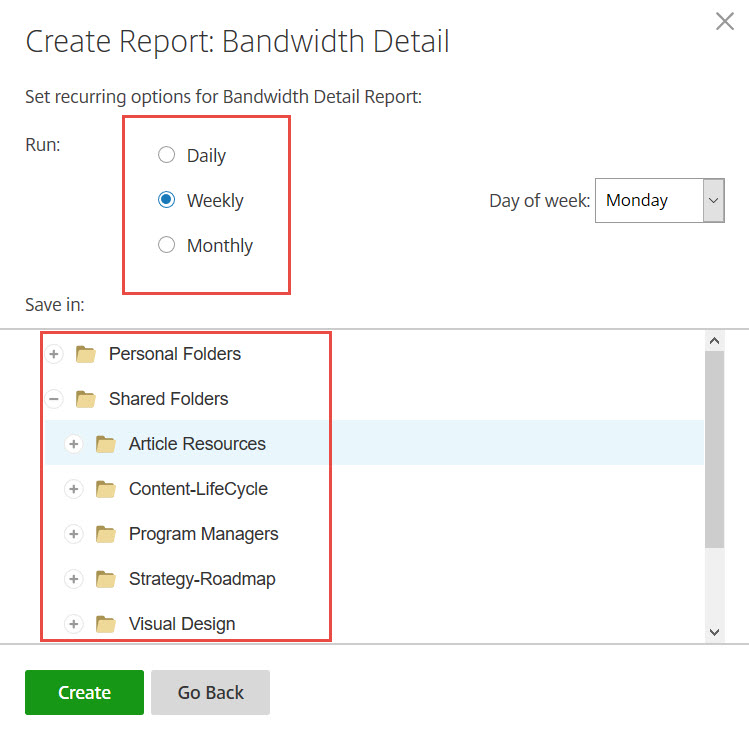
Choose Daily, Weekly, or Monthly based on your needs. Choose the folder where you want the recurring reports to be saved on your account and click Create.
Do not remove the destination folder from the system. If you do, future recurring reports might fail.
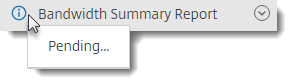
Report Pending:
Allow time for your report to be processed and completed. Depending on the amount of time and the final size of your report, the time it takes for the report to finish might vary.
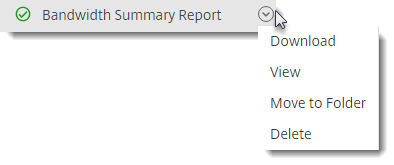
View Completed Report:
You can view, download, move, or delete reports at any time by returning to the Reporting menu and accessing the list to the right of the Report Title.
Note:
Reports support a maximum period of 90 days. Citrix recommends a maximum of 30 days.
Report types
Usage
Reviews activity based on account, folder, or user and includes items such as: login, failed login, downloads/views, uploads, create folder, check in / checkout, move, restore, create notes, edit, create URLs, delete, DLP scan (OK), DLP scan (rejected), and DLP share. If the activity name is not checked when creating the report, no data is returned for that activity name.
Access
Reviews access and permissions on folders. This report can be run at the account level, for a specific user, or on a specific folder.
Access change
Reviews when users were added, edited, or removed from folders. This report can be run at the account level, for a specific user, or on a specific folder. This report can only be run with a date range no longer than 90 days.
Storage detail
Reviews files stored in your account.
Storage Summary
Reviews data for the account or an individual user. Due to the scope of this report, it can only be run once a week, on a recurring basis. The named user in this report represents the owner of the folder in which the item resides.
Share
Reviews activity related to files that are shared by users on the account. This includes any Share messages created in other Citrix Files apps. This report can be run at the account level or for a specific user. This report can only be run with a date range no longer than 90 days.
Request
Reviews activity related to file requests that have been sent by users on the account. This includes any Request messages created in other Citrix Files apps. This report can be run at the account level or for a specific user. This report can only be run with a date range no longer than 90 days.
Users
Reviews a list of users on your account and their status as it relates to things like the address book or user policies. If your account does not have or use the features associated with certain fields, they return as blank.
Bandwidth detail
Reviews all uploads and downloads, including details about those transfers.
Bandwidth summary
Reviews all uploads and downloads, including details about those transfers.
Messaging
Details all messages and links created by the specified user.
Notification History
The Notification History page contains a history of all email messages that have been sent from your account. You can select a date or a specific email with the options shown.
Company Branding
Your account’s account or company name allows Citrix support staff to identify your account. It is also the name that appears on any billing-related correspondences. Typically, your account name is the same as the name of your business.
Set up company branding
Use the following instrauctions to set up your company branding.
- Navigate to Settings > Admin Settings > Company Account Info > Edit Company Branding.
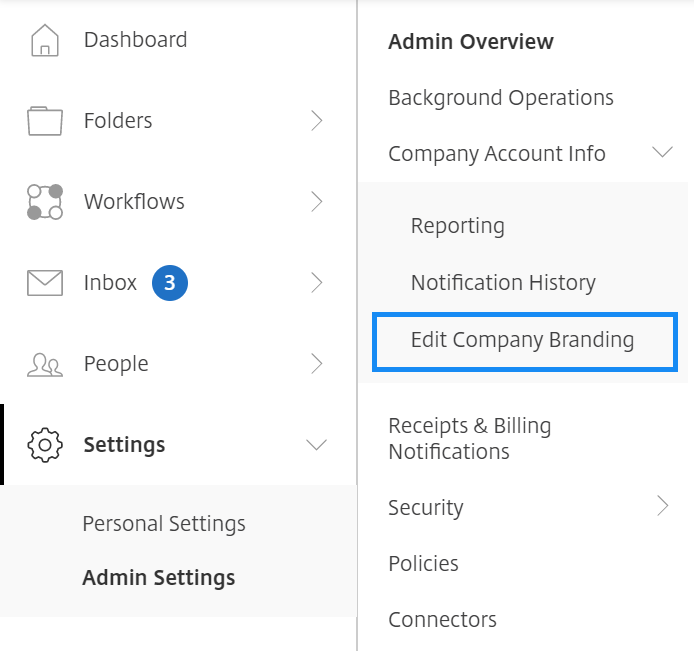
The Edit Company Branding page displays.
-
Under Acount Name, type the name of the account.
-
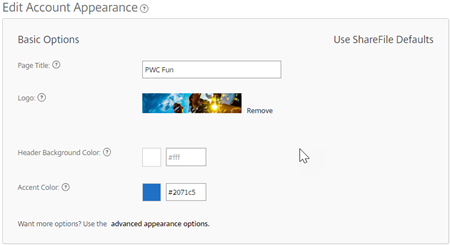
With Edit Account Appearance in Basic Options you can perform the following actions:
-
Change the Page Title that will appear at the top of the window.
-
Upload your company logo.
-
Change the Head Background Color.
-
Change the Accent Color.
NOTE:
By default, the Basic options page will use the page title, logo, header background color and accent colors that you selected. To customize the appearance use the advanced appearance options link on the page to expand the available options. For more information, see Edit Account Appearance.
-
-
Select Save at the bottom of the page to save your branding page changes.
Edit Account Appearance
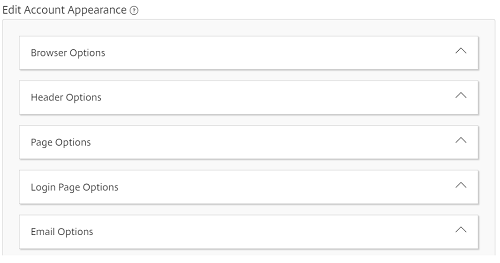
The following options can be set by the users who have the Edit Account Appearance permission set. These are optional.
-
Browser Options - allows you to edit the page title, and favicon in the account appearance.
-
Header Options - allows you to edit the logo, background image, and background color in the account appearance.
-
Page Options - allows you to set the accent bar color at the top of the tabs and in content boxes.
-
Login Page Options - Allows you to upload a logo, select a logo background color, a background color, upload a background image, and provide a description of your page.
-
Email Options - Allows you to upload a logo, provide a header description and provide a footer description.
When all of your advanced options are completed, select Save at the bottom of the page.
Edit Subdomains
With your ShareFile account, you are allowed up to three subdomains. All of these subdomains will share the same custom branding for your company account.
The following requirements are necessary to create subdomains:
- Must contain only letters, numbers, and hyphens.
- Does not start with a hyphen.
- Is at least 2 characters long.
Once you have added the subdomains, select Save at the bottom of the page.